Migration Preparation
Step 1: Review Current Kartra Setup
Identify Key Assets: List all the essential assets in Kartra, including leads/contacts, automations, courses, and websites.
Document Workflows: Note down all automation rules, sequences, and communication setups that are critical for ongoing operations.
Evaluate Data Volume: Determine the amount of content (videos, documents, etc.) and data (contacts, sequences) to be migrated.
Step 2: Define Migration Objectives
Set Clear Goals: Determine the key objectives for migrating to the software, such as enhanced automation capabilities, integrated CRM, or better pricing.
Prioritize Critical Features: Focus on migrating the most essential features first to ensure continuity in your operations.
Step 3: Prepare Backup
Export Data from Kartra: Export all necessary data, including contact lists, emails, and course materials.
Backup Data: Ensure that all exported data is securely backed up before beginning the migration process.
Export Contacts
Step 1: Export Contacts
Navigate to the Software’s Contacts: Go to Communications > Leads.
Select Contacts: Select the leads/contacts you wish to export by ticking the checkboxes.
Export Data: From the dropdown menu, choose Export to download the contacts as a CSV file. Ensure the export includes important fields such as email addresses, phone numbers, and custom fields.
Verify File Integrity: Review the CSV file to ensure all necessary contact data, including custom fields, tags, and lists, have been exported.

Step 2: Prepare CSV for Software Import
Check Data Formats: Ensure all date fields follow the YYYY-MM-DD format for compatibility with the software.
Encode Special Characters: Make sure the file uses UTF-8 character encoding to handle special and accented characters.
Clean Data: Remove any unnecessary characters (e.g., line breaks, emojis) and empty columns to prevent import errors.
Step 3: Import Contacts into the Software
Log in to the Software: Navigate to Contacts > Import Contacts.
Upload CSV File: Select and upload the CSV file. Ensure that all required fields, such as first name, last name, email, and phone number, are properly mapped to the corresponding fields in the software.
Map Custom Fields: If Kartra includes any custom fields, create those fields in the software by navigating to Contacts > Settings > Custom Fields before importing the data.
Assign Tags and Lists: Use the software's tagging and list functionalities to organize contacts according to Kartra’s segmentation structure, such as Kartra Import tags.
Click here to learn more about Troubleshooting Bulk Imports Via CSV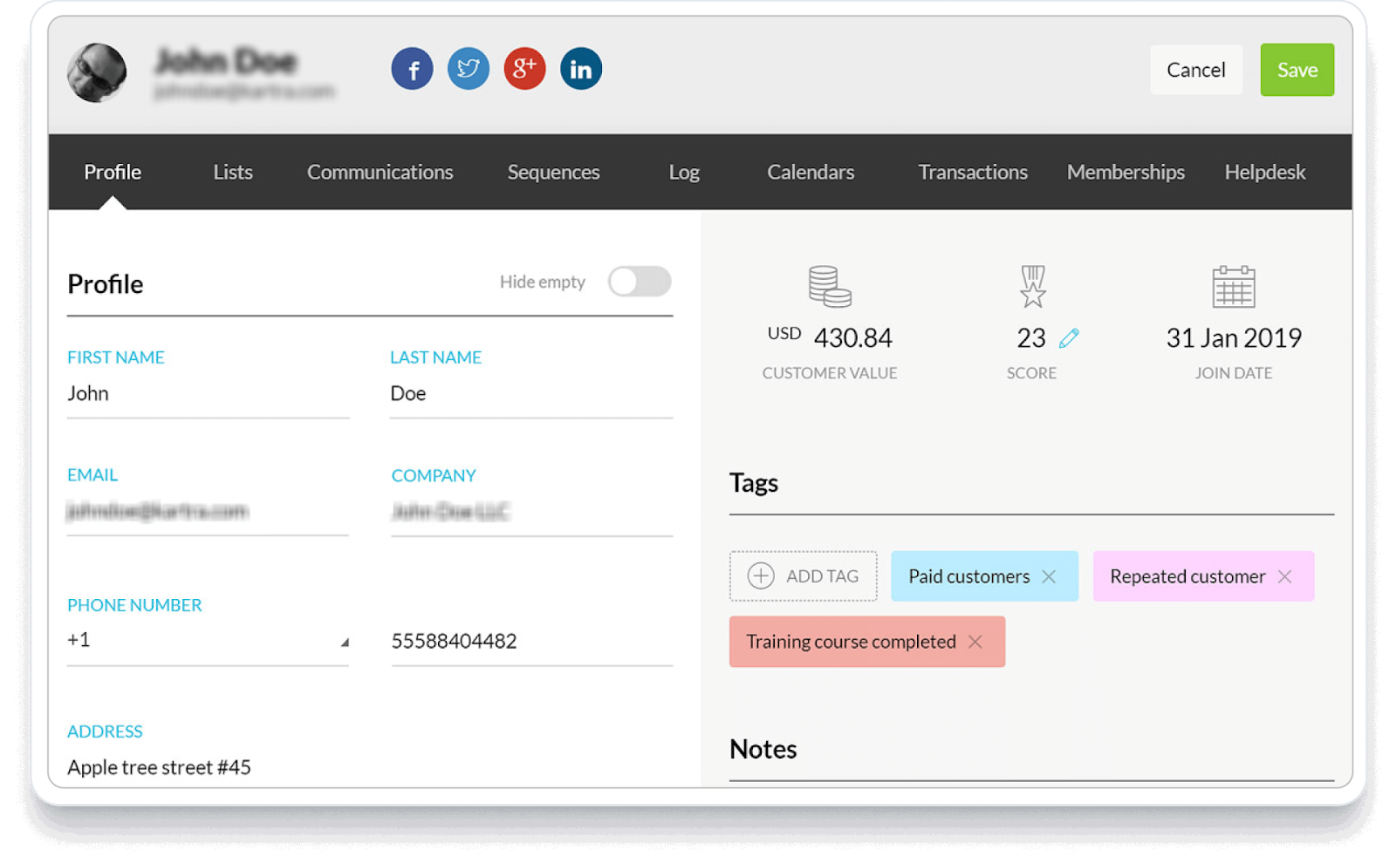
Migrate Courses
Step 1: Export Course Content from Kartra
Navigate to the Software’s Memberships Section: In the software, go to My Memberships to locate course content.
Export Videos and PDFs: Download all video lessons and documents from the Memberships section to ensure you have all the necessary content for migration. Back up these files for safekeeping.
Export Quizzes and Surveys: If your courses contain quizzes or assessments, document or manually export these to replicate them in the software.
Step 2: Prepare Course Materials for the Software
Plan the Migration: Start the migration during off-hours to reduce any disruption for learners and keep the process smooth.
Organize Course Content: Group exported content by module, making it easier to recreate in the software.
Check File Compatibility: Ensure media files (e.g., MP4 for videos, PDF for documents) are compatible with the software’s upload limits and formats.
Migrate Offers and Automations
Step 1: Review Existing Offers and Automations
List Active Offers: Identify all current offers, including free and paid, along with their pricing structures and payment gateways.
Document Automations: Ensure you have a clear record of all automation rules, such as email sequences, tags, and trigger-based actions.
Step 2: Recreate Offers in the Software
Set Up Offers: Navigate to Funnels & Websites > Products in the software and create offers that correspond to those in Kartra, setting up payment gateways and pricing as needed.
Grant Access to Offers: In the software, manage offer access by assigning them to specific contacts or groups, mirroring the setup in Kartra.

Migrate Calendars
Step 1: Review Existing Calendars
Document All Events: Compile a comprehensive list of all current calendar events, including:
Appointments: Detail the nature, frequency, and participants of each appointment.
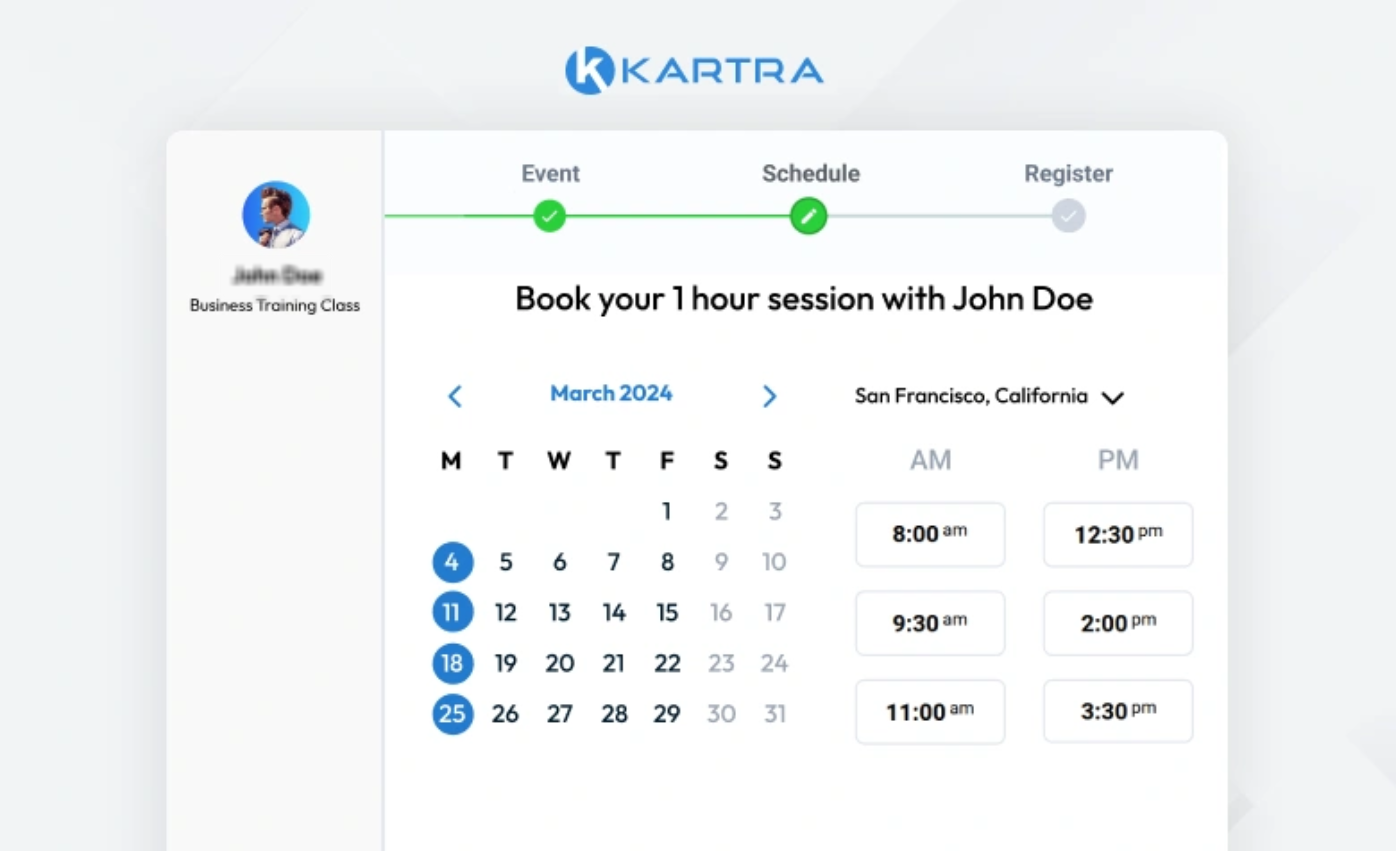
Bookings: Note any bookings related to services or products, including time slots and duration.
Recurring Events: Identify any recurring events, specifying their schedules and associated details.
Step 2: Recreate Calendars in the Software
Create Software Calendars: Navigate to Account Settings > Calendars. Set up each calendar to match those in Kartra, ensuring all settings align with your previous configurations, such as reminders, assigned users, and meeting locations.
Add Calendar Integrations: Go to Account Settings > Calendars > Connections to sync your Google or Outlook calendars with the software, facilitating seamless management of appointments across platforms.
Set Up Recurring Appointments: For repeating events, manually configure recurrence rules in the software calendar settings to match the existing setup in Kartra.
Preview and Test: Verify that your new calendars work as expected by comparing them with the existing Kartra setup, ensuring that all functionalities are intact.
Align with Existing Schedule: Ensure that event blocks are displaying in the software calendar accurately, taking into account time zones and availability.
Add Event Details: Include essential information for each event, such as:
Title: Clear and descriptive names for easy identification.
Description: Provide context or notes relevant to the event.
Participants: Specify any attendees or stakeholders involved.
Notifications: Set reminders and notifications to keep everyone informed.
Step 3: Customize Your Software Calendars
Explore Calendar Styles and Settings: The software offers various configurations to tailor your calendars to your needs.
Create Round Robin Calendars: Use this setup if you want to distribute appointments among multiple team members.
Set Up Class Schedules: Configure calendars for group sessions or classes to manage collective appointments effectively.
Recurring Appointments: Set up recurring sessions for ongoing meetings or classes, ensuring consistency in scheduling.
Advanced Customization: Adjust colors, availability, and user permissions to fit your organizational needs.
Seek Additional Resources: For more detailed instructions on setting up these calendar types, visit the software help center and search for Calendars Setup to access comprehensive guides and tips.
Migrate Integrations
Step 1: Review Existing Integrations in Kartra
Export Course Content: Download videos, PDFs, and other course materials from the Memberships or Products sections in Kartra.
Step 2: Recreate Automations in the Software
Build New Workflows: Go to Automation > Workflows in the software and recreate the automations from Kartra, using the software’s triggers, conditions, and actions to achieve similar results.
Test Workflows: Thoroughly test all recreated workflows to ensure they function correctly and adjust any settings as necessary.
Migrate Websites and Funnels
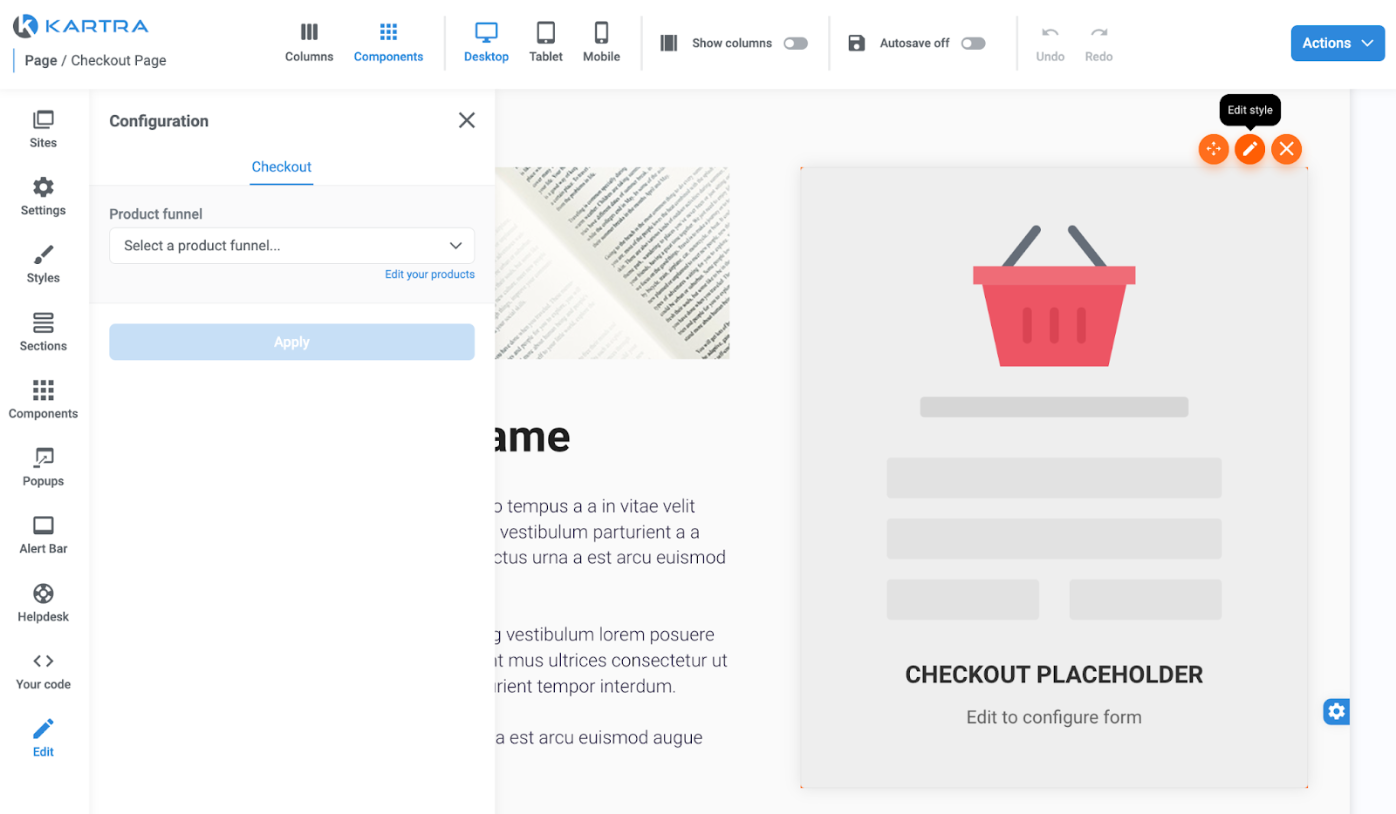
Step 1: Recreate Website Pages in the Software
Rebuild Website Pages: Use the software’s Website Builder to recreate all key pages from Kartra, including sales pages, landing pages, and checkout pages. Ensure that the design and content match your original pages as closely as possible.
Add Content: Import all relevant text, images, videos, and other media into your software pages to fully replicate your Kartra site.
Step 2: Recreate Funnels
Build New Funnels: Navigate to Sites > Funnels in the software and recreate the funnels you had in Kartra, including all landing pages, opt-in forms, and email sequences.
Customize Funnel Pages: Use the software’s drag-and-drop editor to customize funnel pages, ensuring they align with your previous setup in Kartra.
Final Checks and Training
Step 1: Perform Final Data Validation
Cross-Check Data: Verify that all data has been successfully migrated, including contacts, course materials, and automations.
Validate Workflows: Ensure that all workflows and automations are operational in the software.
Step 2: Train Team Members
Software Training: Provide necessary training to your team on using the software’s CRM, automation, and course management tools.
Leverage Support Resources: Encourage your team to use the software’s support resources for continuous learning and troubleshooting.
Step 3: Monitor and Optimize
Monitor Performance: Continuously monitor the performance of your software setup, making adjustments as needed to optimize operations.
Continuous Improvement: Regularly review your setup to ensure it meets your evolving business needs.
Decommissioning Kartra
Step 1: Transition Period
Run in Parallel: Consider running both Kartra and the software in parallel during the transition to ensure no disruptions in operations.
Gradual Phase-Out: Slowly reduce reliance on Kartra as you become more comfortable with the software.
Step 2: Cancel Kartra Subscription
Final Data Backup: Ensure that all necessary data is securely backed up before canceling your Kartra subscription.
Official Cancellation: Follow Kartra’s process to cancel your subscription and terminate any associated services.
Step 3: Post-Migration Review
Review Success: Evaluate the success of the migration, documenting any challenges faced and lessons learned.
Ongoing Monitoring: Keep an eye on your software setup post-migration to catch and resolve any issues promptly.
Was this article helpful?
That’s Great!
Thank you for your feedback
Sorry! We couldn't be helpful
Thank you for your feedback
Feedback sent
We appreciate your effort and will try to fix the article